

12 octobre 2008
7
12
/10
/octobre
/2008
00:20
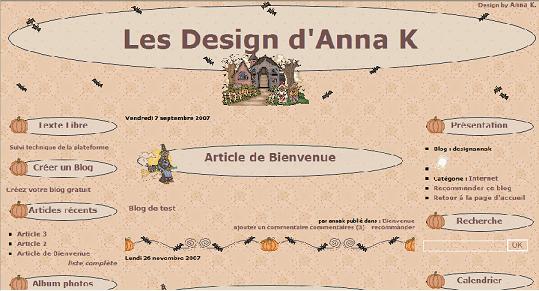
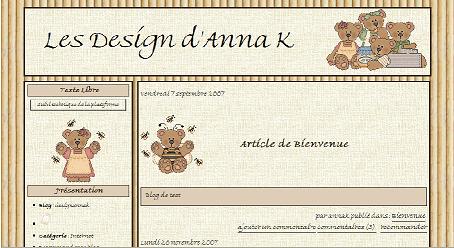
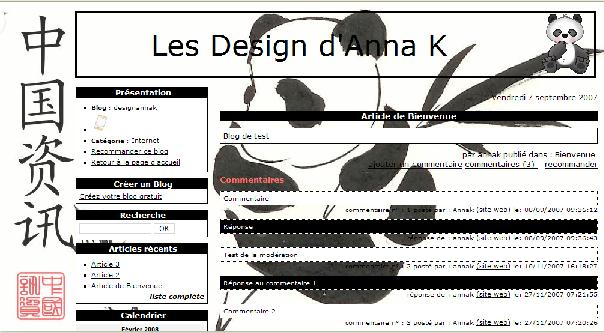
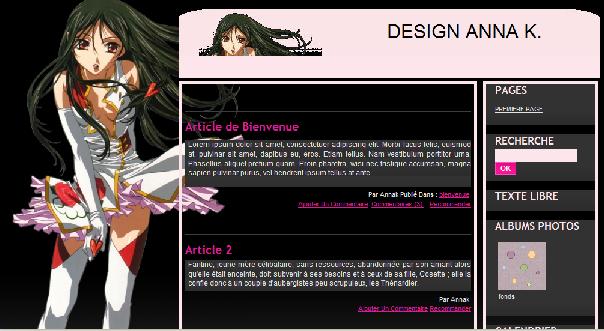
Ce design est destiné aux débutants qui n'y connaissent pas grand chose ni en CSS, ni en logiciel de dessin.
Il vous suffira de suivre les indications pour le mettre sur votre blog.
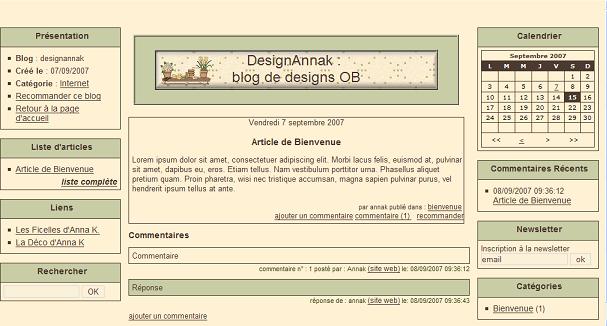
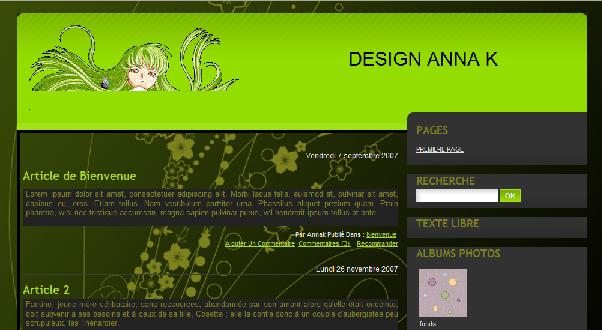
Ce design a été réalisé avec Fire Fox sous résolution 1024*768. Je l'ai vérifié sous résolution 800*600 et 1280*1024 et sous IE.
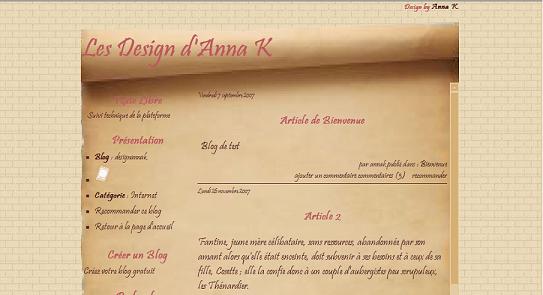
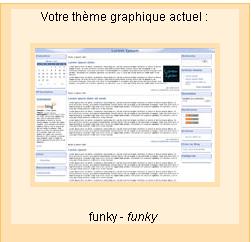
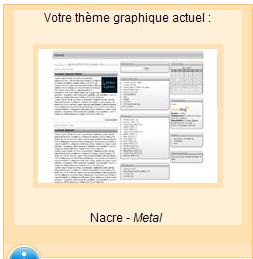
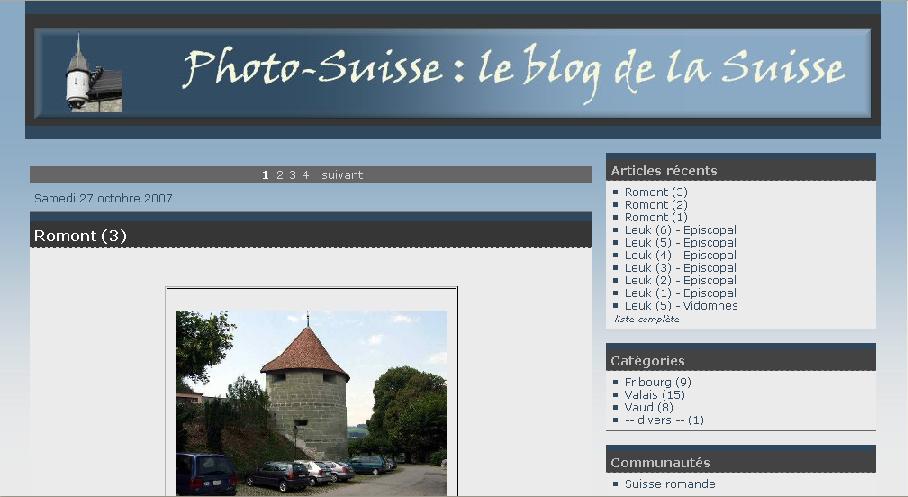
Ci-dessous, son aspect sous résolution 1024*768.
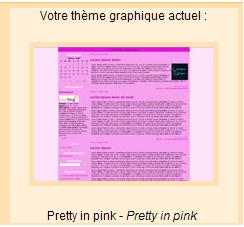
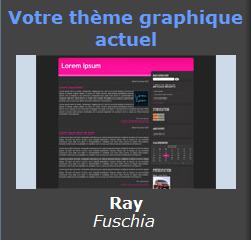
CHOIX DU DESIGN :
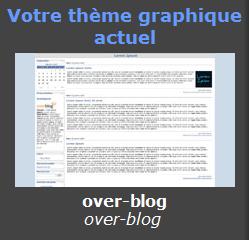
Dans la barre de menu, cliquez sur Design
 Puis sélectionnez le thème graphique PRETTY IN PINK en cliquant dessus
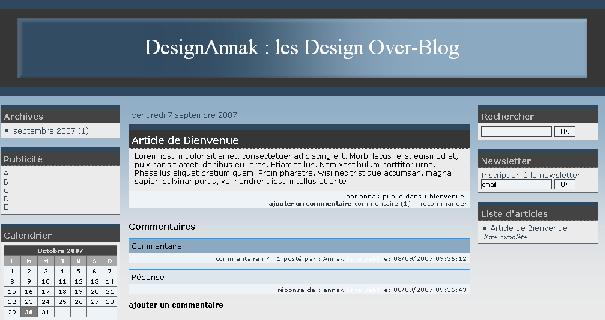
J'ai choisi de rester en mode normal : le design sera le même dans toutes les pages et donc un seul CSS.
Cliquez sur Mode avancé (CSS) à droite.
Cochez
Dans mon style, collez le CSS suivant
Enregistrez.
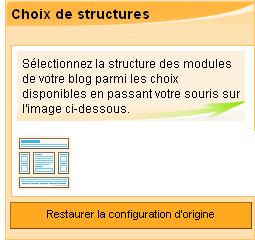
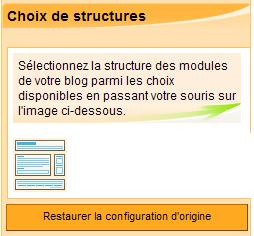
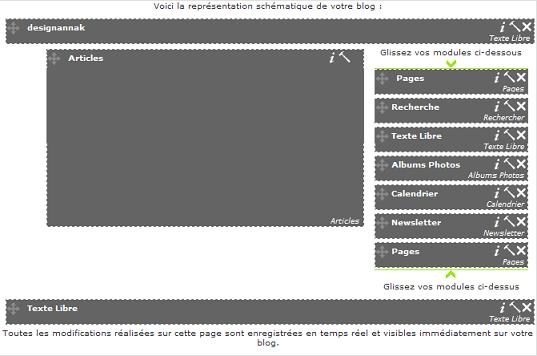
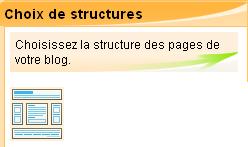
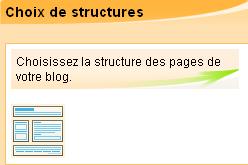
CHOIX DE LA CONFIGURATION
Dans la barre de menu, cliquez sur Configurer
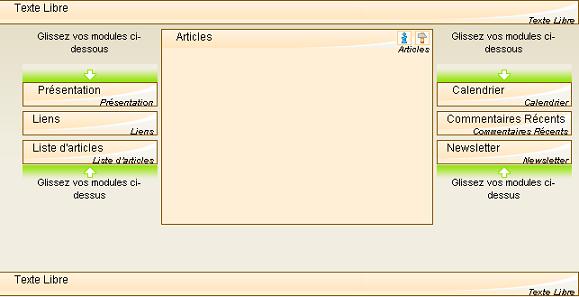
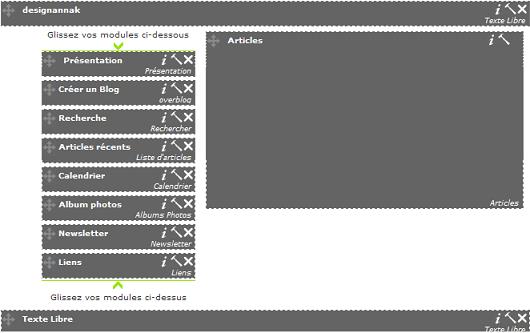
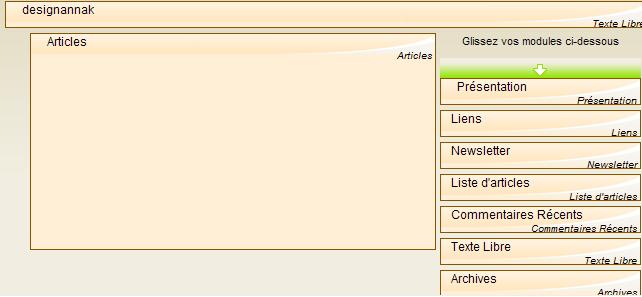
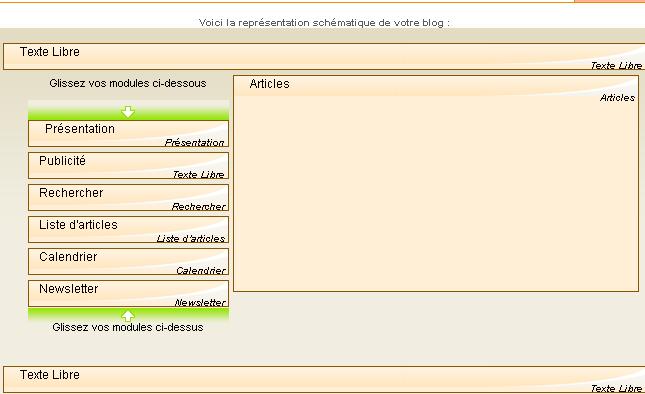
Ensuite, vous gardez l'entête et le pied de page et placez les modules voulus .
PERSONNALISATION :
Vous êtes toujours dans la partie Configurer : cliquez sur le pavé qui représente l'entête (ci-dessus celui où il est écrit TexteLibre) - contenu personnalisé.
Cliquez sur Editer la source
Copiez dans la source
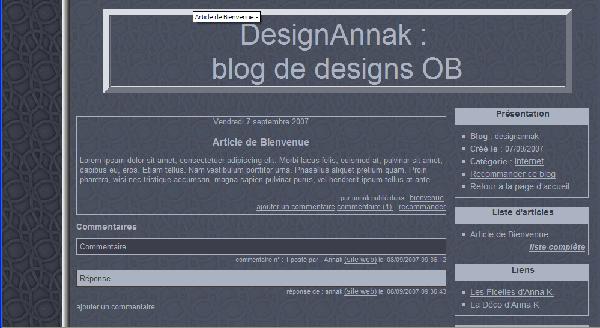
DesignAnnaK : remplacez par le titre de votre blog et validez.
Je crois que j'ai fait le tour. Si vous le testez, dîtes-moi ce que ça donne.
Il vous suffira de suivre les indications pour le mettre sur votre blog.
Ce design a été réalisé avec Fire Fox sous résolution 1024*768. Je l'ai vérifié sous résolution 800*600 et 1280*1024 et sous IE.
Ci-dessous, son aspect sous résolution 1024*768.
CHOIX DU DESIGN :
Dans la barre de menu, cliquez sur Design
J'ai choisi de rester en mode normal : le design sera le même dans toutes les pages et donc un seul CSS.
Cliquez sur Mode avancé (CSS) à droite.
Cochez
Dans mon style, collez le CSS suivant
body {margin:0px; padding:0px; font-family: Verdana, Helvetica, Arial, sans-serif; font-size:x-small;;background:url(http://idata.over-blog.com/1/29/47/23/halloween/0bgr2615.gif);}
#global {width:985px;background:none;font-weight:bold;}
#cl_1_0,#cl_1_2 {width:215px;}
#cl_1_1 {width:535px;}
input {color:#735252;}
a {text-decoration:none; color:#735252; font-size:110%;}
a:hover {text-decoration:underline; color:#735252;}
#top h1 {padding:0px; margin:0px;}
#top {margin:0px; padding:0px; border:0px none;height:200px;width:100%;
background:url(http://nsm01.casimages.com/img/2008/09/15//080915064722249682499344.gif);}
#ln_0 {background:none;color:#735252;}
#footer {margin-top:10px; position:relative; color:#E6D7C4; background-color:none;}
#footer p {margin:0px; padding: 10px;}
.beforeArticle {padding:0px 0px 5px 0px; margin:0px; width:100%; color:#E6D7C4;}
.article {margin-top:0px; padding:0px; margin-bottom:5px;}
.contenuArticle {color:#735252;font-family: Verdana, Helvetica, Arial, sans-serif;font-size:small;}
.date {margin-right:10px;color:#000;font-family: Verdana, Helvetica, Arial, sans-serif;}
.titreArticle {text-decoration:none; color:#735252;font-size:140%;}
.titreArticle:hover {color:#000;}
.divTitreArticle h2 {text-align:center;height:80px;padding-top:30px;
background:url(http://nsm01.casimages.com/img/2008/09/15//080915065759249682499390.gif);
background-repeat:no-repeat;background-position:center;}
.afterArticle {color:#000;font-family: Verdana, Helvetica, Arial, sans-serif;padding-bottom:40px;
background:url(http://idata.over-blog.com/1/29/47/23/halloween/halldivider1_rg.gif);
background-repeat:repeat-x;background-position:bottom;}
.box { margin:0px; padding:0px; margin-bottom:10px; border:0px solid #F6A5EE;font-family: Verdana, Helvetica, Arial, sans-serif; }
.box-titre h2 {color:#735252; margin-left:10px; margin-right:10px; padding-top:10px; margin-bottom:0px;
background:url(http://nsm01.casimages.com/img/2008/09/15//080915065146249682499365.gif);height:42px;
width:200px;background-position:top center;background-repeat:no-repeat;}
.box-titre {padding:0px; text-align:center;font-size:140%;font-family: Verdana, Helvetica, Arial, sans-serif; }
.box-content {overflow:auto; padding:2px 5px; color:#735252;}
.h2commentMessage {color:#735252;}
.commentMessage {background-color:orange;padding:5px; border:1px dotted #000; margin:0px;}
.commentOption {text-align:right; font-size:90%; color:#000; margin-bottom:10px;}
.beforePage {padding:0px 0px 5px 0px; margin:0px; width:100%; color:#735252;}
.page {margin-top:0px; padding:0px; margin-bottom:5px;}
.pageContent {font-family: Verdana, Helvetica, Arial, sans-serif;color:#735252; }
.divPageTitle h2 {color:#735252;text-align:center;height:80px;padding-top:30px;
background:url(http://nsm01.casimages.com/img/2008/09/15//080915065759249682499390.gif);
background-repeat:no-repeat;background-position:center;}
.divPageTitle h2:hover {text-decoration:underline; color:#000;}
.afterPage {}
.calendarTop1 { color:#735252; }
.calendarToday1 {color:#735252;}
.calendarDays1 {color:#735252;}
.calendarHeader1 {color:#735252;}
.calendarTable1 {color:#735252;}
#formComment {background-color:orange;}
#general #cl_1_0 {width:100%;}
#general #ln_1 {background:url(http://idata.over-blog.com/1/29/47/23/halloween/hallbgdtilelight3_rg.gif);}
#general #ln_2 {background:url(http://idata.over-blog.com/1/29/47/23/halloween/hallbgdtilelight3_rg.gif);}
Enregistrez.
CHOIX DE LA CONFIGURATION
Dans la barre de menu, cliquez sur Configurer
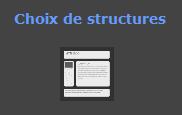
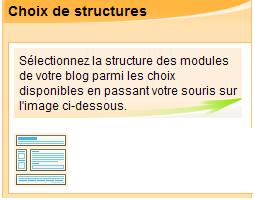
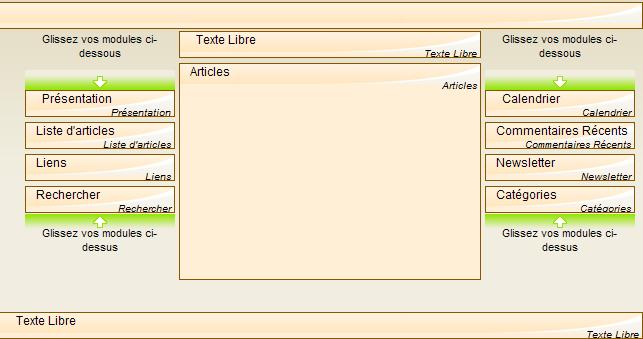
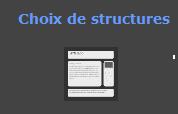
Cliquez sur Mise en page dans la colonne de gauche, tout en bas.
Choisissez une structure 1 colonne modules à gauche+1colonne article au centre+1colonne modules à droite
Choisissez une structure 1 colonne modules à gauche+1colonne article au centre+1colonne modules à droite
Ensuite, vous gardez l'entête et le pied de page et placez les modules voulus .
PERSONNALISATION :
Vous êtes toujours dans la partie Configurer : cliquez sur le pavé qui représente l'entête (ci-dessus celui où il est écrit TexteLibre) - contenu personnalisé.
Cliquez sur Editer la source
Copiez dans la source
<div style="text-align: right;">Design by <a href="http://annak.over-blog.com/" target="_blank">Anna K</a>.<br /></div>
<br /><br />
<table style="text-align: center;" border="0" cellspacing="1" cellpadding="1" width="100%">
<tbody style="text-align: left;">
<tr style="text-align: left;">
<td style="text-align: center;"><span style="font-size: 36pt;">Design d'Anna K</span></td>
</tr>
</tbody>
</table>
<br /><br />
<table style="text-align: center;" border="0" cellspacing="1" cellpadding="1" width="100%">
<tbody style="text-align: left;">
<tr style="text-align: left;">
<td style="text-align: center;"><span style="font-size: 36pt;">Design d'Anna K</span></td>
</tr>
</tbody>
</table>
DesignAnnaK : remplacez par le titre de votre blog et validez.
Je crois que j'ai fait le tour. Si vous le testez, dîtes-moi ce que ça donne.
Partager cet article


